
Generating a Physical Database Schema Through Automated Forward Engineering
The primary purpose of a data warehouse is to serve as a centralized repository for historical data that can be quickly queried for BI reporting and analysis. Data modeling—which defines the database schema—is the heart of your data warehouse.
Learn more about automated dimensional modeling.
After designing your data model, the next step is to generate a physical schema, which synchronizes your model with the target database. This process is called forward engineering.
Now generating a new schema for the database is a complex task. You need to execute all the physical changes, e.g., adding, removing, or altering entities, indexes, names, and relationship types, in the destination data warehouse. On top of that, you need to align the model with native requirements of different databases.
And all this demands long, complicated scripts of coding. But where there is a complicated way, there’s also a no-code way—Astera’s way.
Automated Forward Engineering—The Astera Way
Astera DW Builder is an end-to-end data warehouse tool that comes with an intuitive, no-code platform to cut down manual data warehousing tasks by almost 80%. This includes forward engineering as well.
After you have designed your data model in Astera’s versatile data modeler, all you need to do is generate its physical schema in the desired database prior to deployment. With Astera, you get different options to forward engineer the model.
Let’s see how this is done.
This is our sample dimensional data model—designed with Astera DW Builder—based on the fictitious Wide World Importers database.
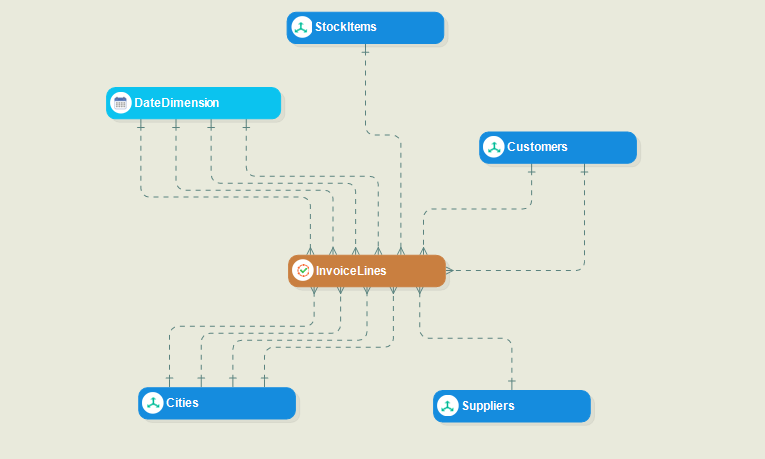
Fig 1. Sample Dimensional Model in Astera DW Builder
Step 1: Pick a Database of Your Choice
First, you’d select the database where you want to generate your data model schema. You treat this as your data warehouse destination where you will deploy and populate designed models.
Astera provides in-built, native support for some of the most popular data warehouse destinations and cloud providers.
Simply click on the ‘Change Database Connection Info’ icon in the toolbar and select the desired provider and database.
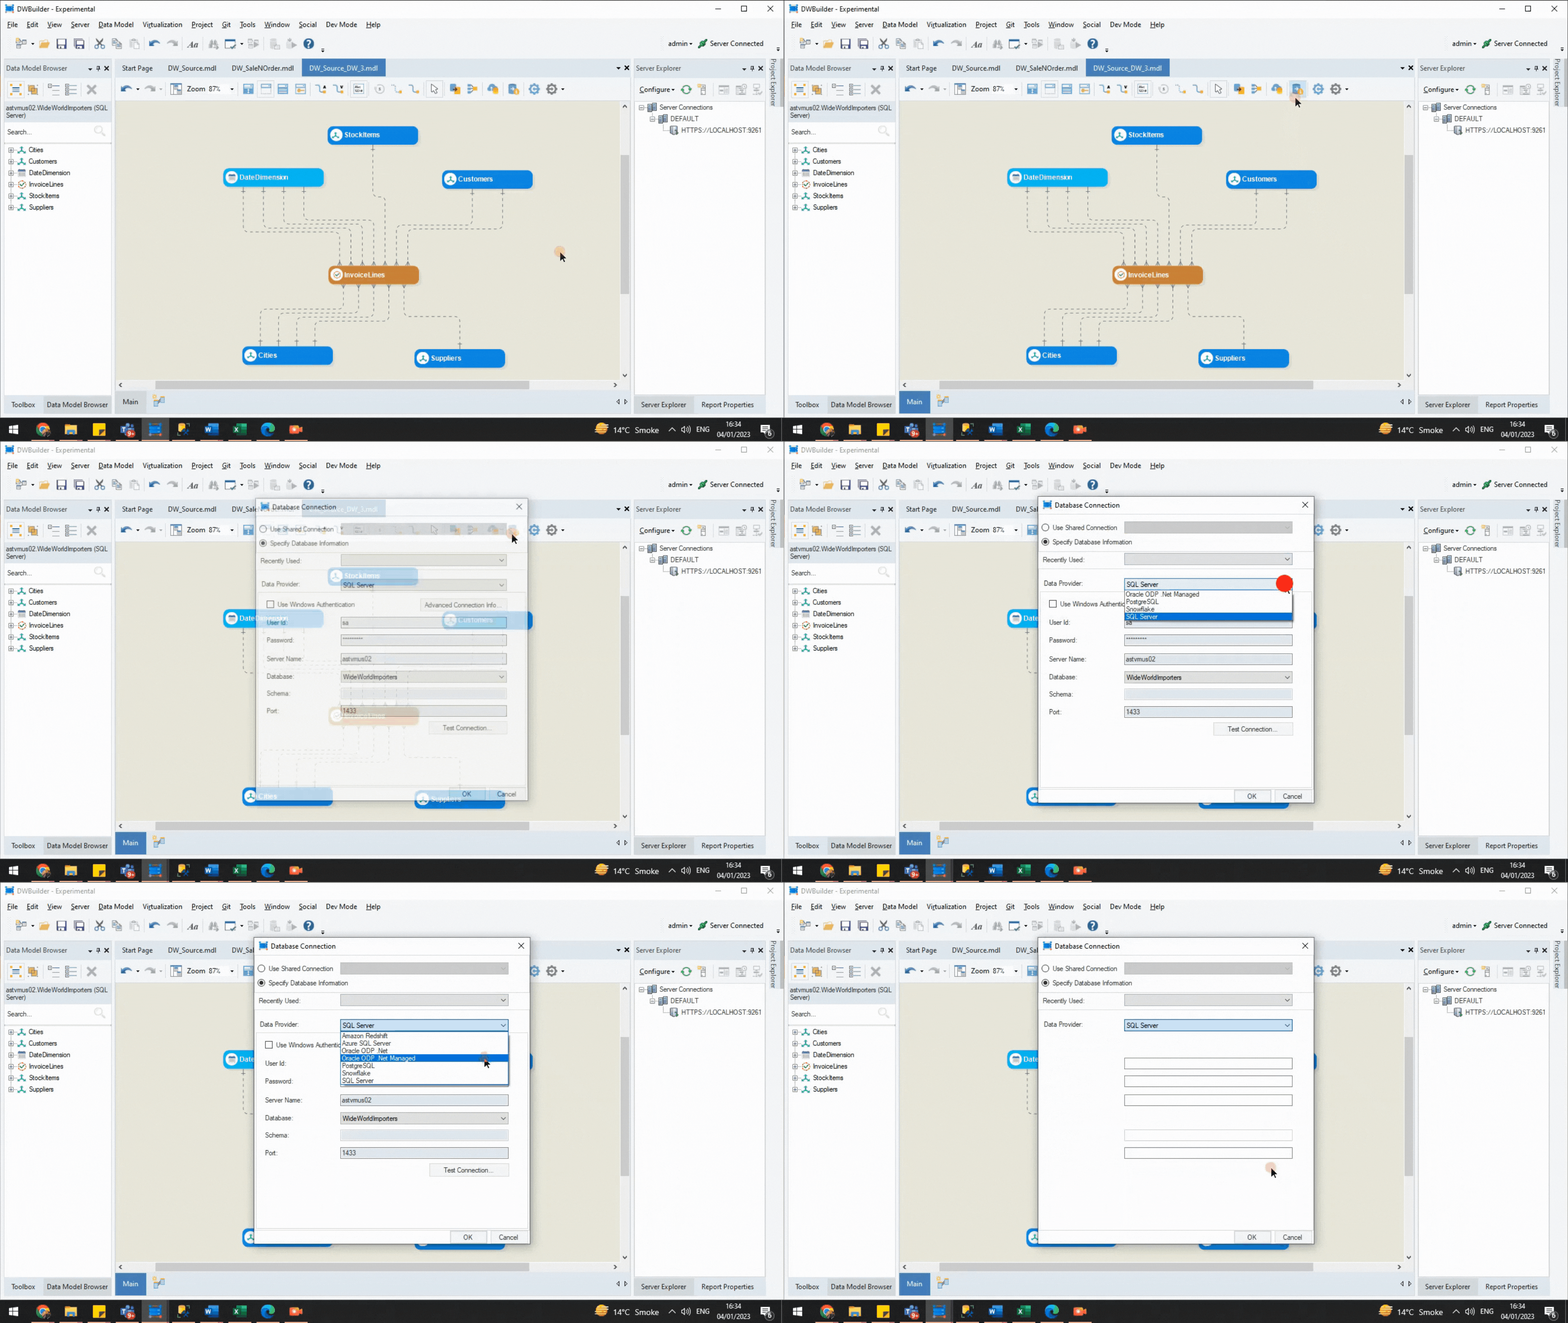
Fig 2. Selecting the desired database connection
Here, we have selected SQL server and added database details, including server and database names. Now you can automatically generate the physical schema and forward engineer your model onto the desired database.
Step 2: Verify Your Model for Forward Engineering
It’s important to verify your data model prior to forward engineering. Astera has an in-built data model verification system that automatically scans the model for any errors that can affect forward engineering or deployment.
Select ‘Verify for Forward Engineering’ option from the toolbar and see if any common errors need to be fixed in the model.

Fig 3. Data Model Verification
For example, two of our entities—Stock Items and Invoices—don’t have primary keys marked in their layout builders. The verification tool identifies these errors so they can be fixed prior to forward engineering and deployment.

Fig 4. Verification Errors for Forward Engineering
Mark the right column as primary key in the layout builder of both entities to get an error-free data model.
Step 3: Select Preferred Method for Forward Engineering
Astera gives you four different ways of generating a database schema. You can pick one from the forward engineering dropdown menu.
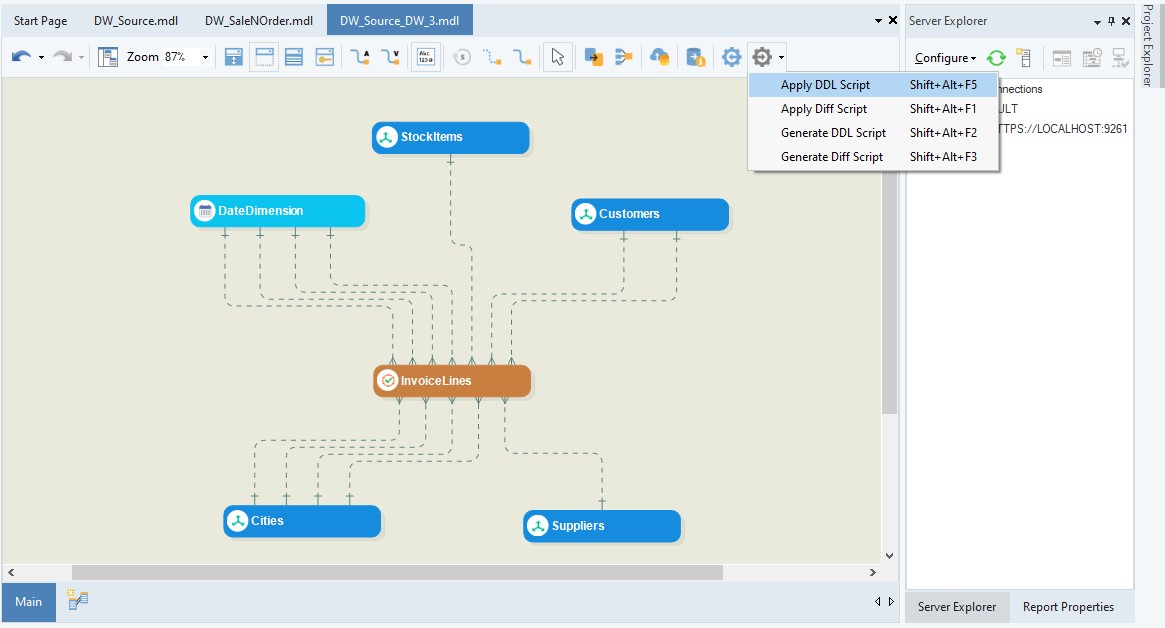
Fig 5. Forward Engineering Options
Here’s what you can do with the four options:
-
Apply DDL Script:
With this option, Aster DW Builder automatically generates an SQL script for your data model schema and executes it on the database server identified in Step 1. This way, you don’t need to manually write or generate long scripts.
Both ‘Apply Script’ options reveal a window that shows all the changes that are applied when the script is automatically executed.
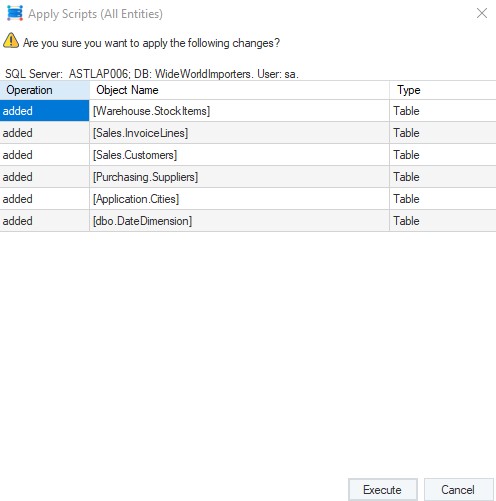
Fig 6. Apply Script Window
-
Apply Diff Script:
We use the Diff Script option to only execute the changes we made to an existing data model. This option would only generate the Diff Script for new changes and execute it onto the database.
For example, we add a new dimension—e.g., Order Entity—to the data model and choose Apply Diff option.
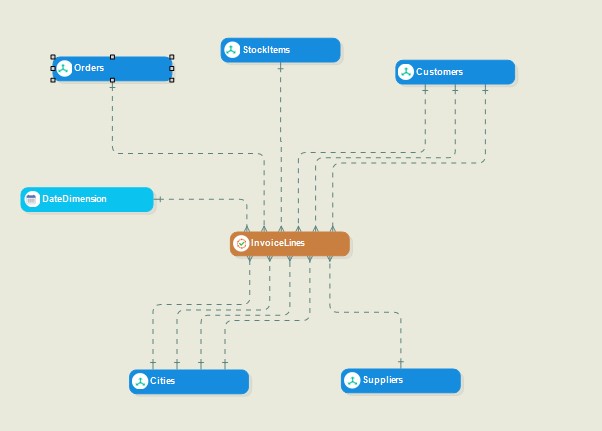
Fig 7. Adding a new entity to the dimensional model
The Apply Diff Script Window reveals only the changes that we have made to the schema.
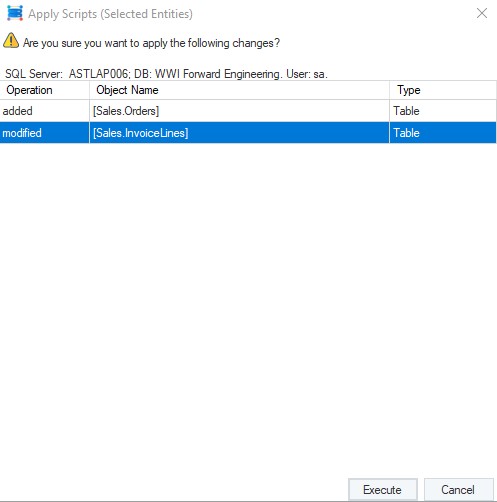
Fig 8. Apply Script Window for Apply Diff Script
There’s a prompt if no changes are detected in the data model schema. For example, if we roll back the new dimension and forward engineer the data model using Apply Diff Script again, then it shows a prompt “No Changes were detected for entities”.
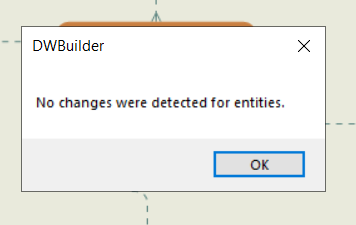
Fig 9. No changes detected
-
Generate DDL Script:
With this option, you can automatically generate an SQL script and execute it yourself in the desired database manager. This is useful when you want to apply the script manually through Astera DW Builder. For example, we have generated a DDL SQL Script for our dimensional model as well:
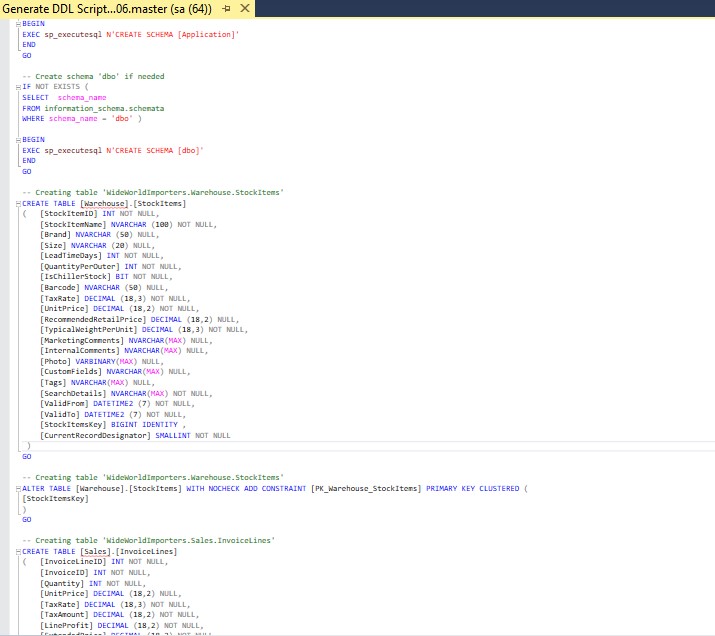
Fig 10. SQL script generated automatically through the Generate DDL Script option
-
Generate Diff Script:
With this option you automatically generate the Diff Script and manually execute it in the database server manager.
The data model is now ready to be deployed and consumed for BI as you have automatically generated and executed your schema through either of the four options.
This is the end of the guide to automated forward engineering with Astera DW Builder.
No complex, manual scripting and no delays in design and deployment—just hassle-free data warehouse development.


